Integrations
Auvik
Getting started
This guide will walk you through setting up Auvik audit log monitoring with Perch. You’ll need the following on hand to complete the setup:
- Auvik username
- Auvik API key
- Auvik instance region
Authentication
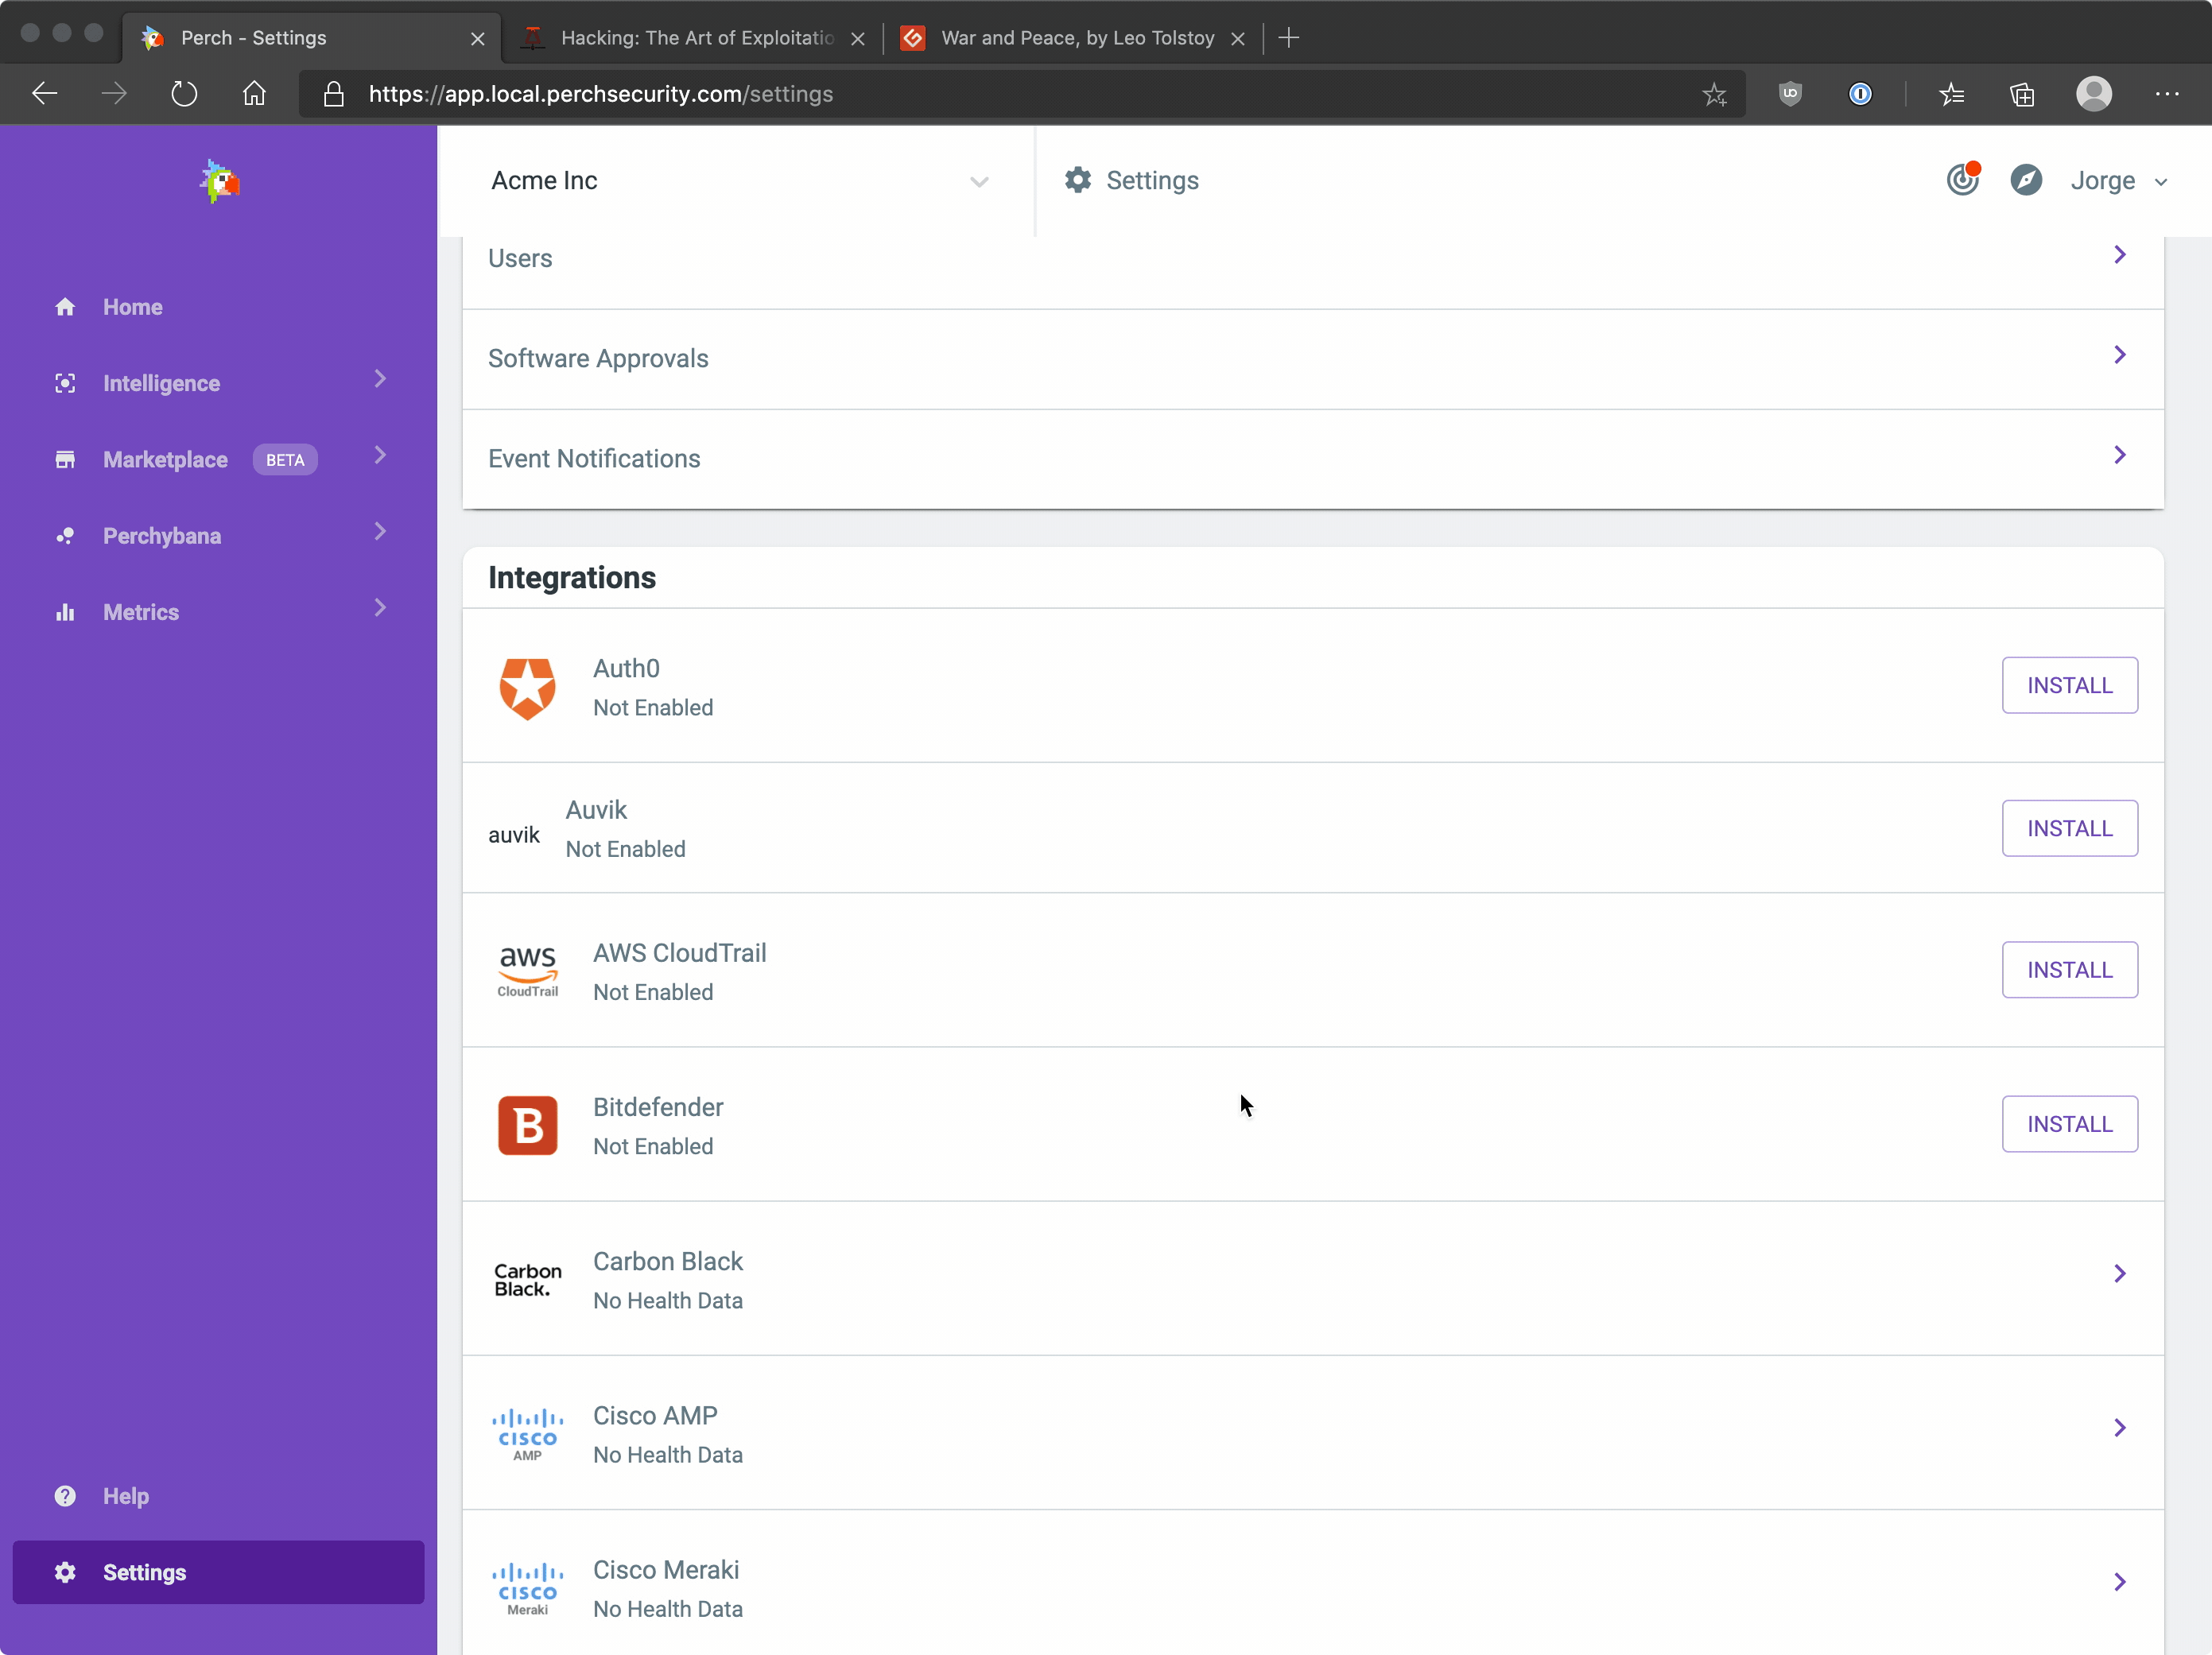
- Click here to go to Auvik settings in the Perch app, or manually navigate to Settings > Integrations > Auvik.
- Authenticate with your organization’s Auvik instance by filling out the input fields with your information:
- Username
- API key
- Region
- With your authentication information entered, click the save Save icon.
- Then, click the loop Reload options from Auvik icon.
Configure
-
Next, toggle Enable log collection to On (it’ll turn purple) and select your Organization from the Tenant dropdown.

-
Click the save Save icon.
Testing
If your Auvik configuration is set up correctly, the initial Reload function you completed above should have initiated the API connection.
To verify, you can utilize the vpn_key Test authentication and tune Test configuration functions to generate two separate API calls and logging on those two actions.
Success
To verify a successful integration set up, make sure you are seeing notifications reporting success near the top of the page and in the logs generated within Integration Health.


To observe the raw logging format of Auvik logs in Perch:
- Go to Perchybana > Discover in the Perch app menu.
- Use the Index Pattern select dropdown and select "*-auvik-records”. This will filter your Organization’s Perchybana view to only show Auvik records.

Visual walkthrough
Still having trouble? Reach out to one of our specialists at help@perchsecurity.com