Integrations
ConnectWise Manage
Prerequisites:
- ConnectWise Manage Company ID
- ConnectWise Manage instance Base URL
- ConnectWise Manage public key
- ConnectWise Manage private API keys
Install Integration
- Navigate to Settings > Integrations.
- Locate the ConnectWise Manage integration and click Install.

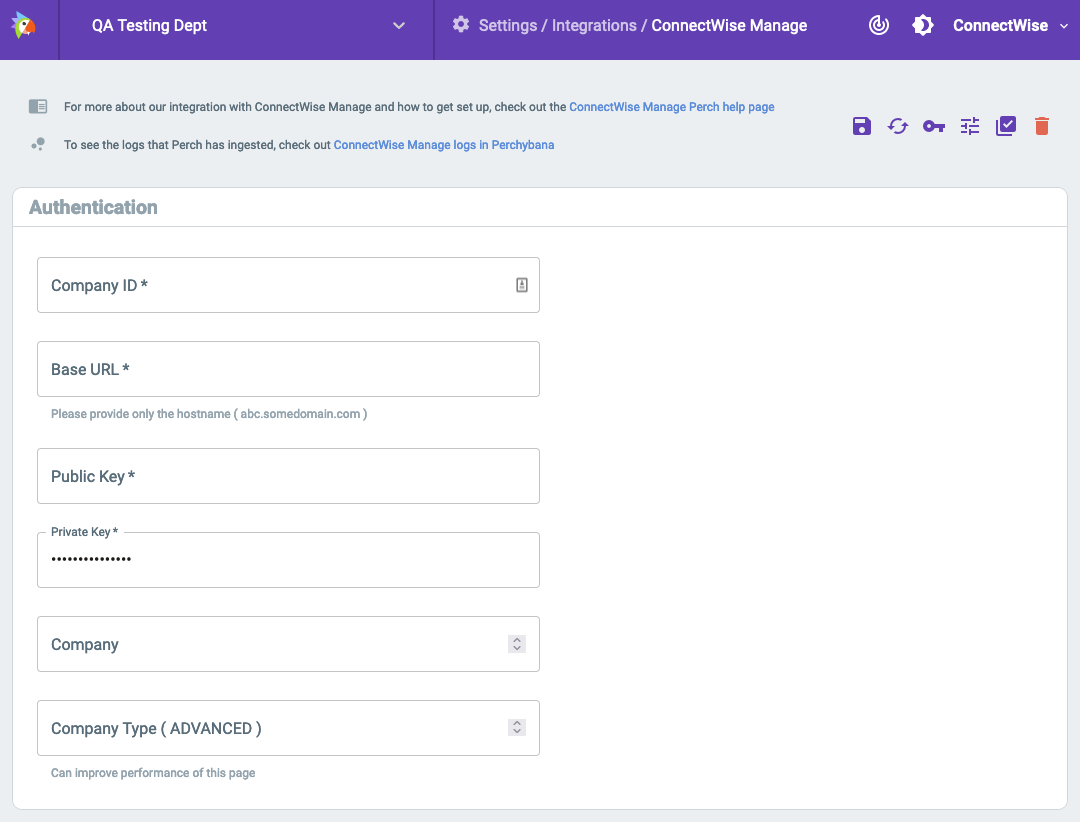
Authenticate
- Company ID: The ID used to log into ConnectWise Manage.
- Base URL: The URL to the ConnectWise Manage instance (ex: manage.acme.com).
- Public Key: The public key that perch will use to access Manage.
- Private Key: Encrypted on Save, after entering you will not be able to see this value.
After completing these fields, ensure that you click ![]() Save
Save
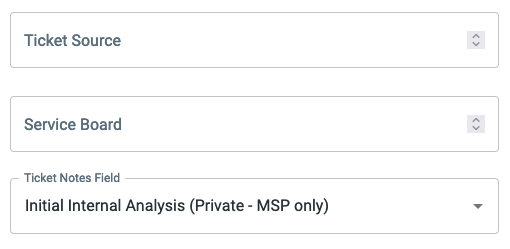
Configure Service Board
- Ticket Source: Select a ticket source that is added when Perch tickets are created.
- Service Board: Select a service board where Perch tickets are sent after they are created.
- Ticket Notes: Select whether notes added to the ticket from the Perch alert are public or private.
- Click Save.
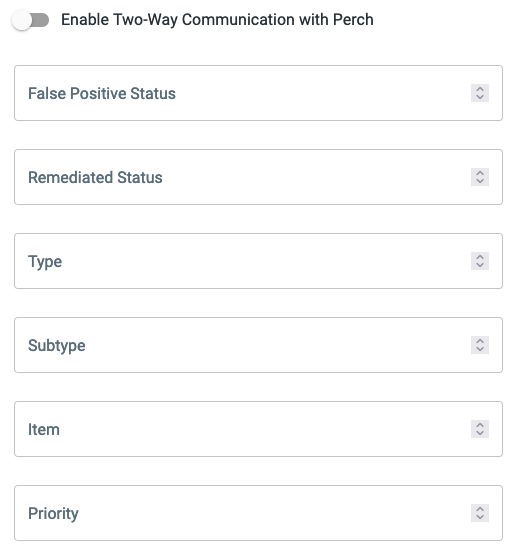
Configure Two-Way Communication
- Click the Toggle to enable (purple position).
- False Positive Status: Select the option from the dropdown that maps to the desired ConnectWise Manage Status (ex: Closed/Resolved).
- Remediated: Select the option from the dropdown that maps to the desired ConnectWise Manage Status (ex: Closed/Resolved).
- Type: Select the option from the dropdown that maps to the ConnectWise Manage Type field. (optional)
- Subtype: Select the option from the dropdown that maps to the ConnectWise Manage Subtype field. (optional)
- Item: Select the option from the dropdown that maps to the ConnectWise Manage Item field. (optional)
- Priority: Select the option from the dropdown that maps to the ConnectWise Manage Priority field. (optional)
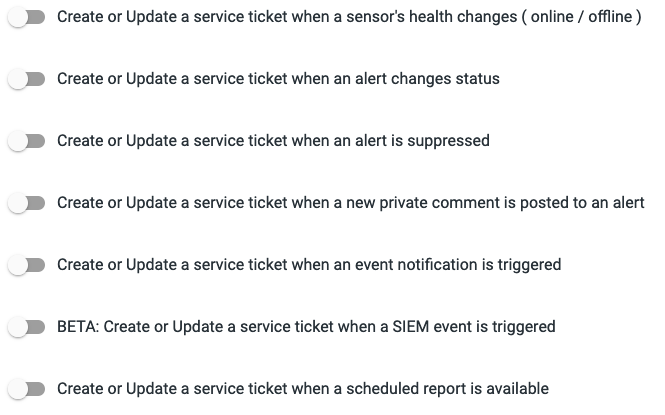
Ticket Options
Select the options for when a Perch alert creates/updated a ticket in Manage
- Toggle the Create a service ticket when a sensor’s health changes switch to the ON (purple) position. This setting, for example, creates a ticket when a Linux appliance / IDS stops communicating with Perch.
- Toggle the Create a service ticket when an alert changes status switch to the ON (purple) position. This setting, for example, creates a ticket if SOC escalations occur.
- The following toggle setting is optional. Toggle the Create a service ticket when an alert is suppressed switch to the ON (purple) position. This setting creates a ticket when the SOC closes an alert for something you previously approved.
- The following toggle setting is optional. Toggle the Create a service ticket when a new private comment is posted to an alert switch to the ON (purple) position. This setting creates a ticket when the SOC team comments on an alert.
- The following toggle setting is optional. Toggle the Create a service ticket when an event notification is triggered switch to the ON (purple) position. This setting creates a ticket if you’ve received an immediate alert before the SOC has reviewed it.
- The following toggle setting is optional. Toggle the Create a service ticket when a scheduled report is available switch to the ON (purple) position. This setting creates a ticket when a scheduled report completes and is available.
- Click Save.
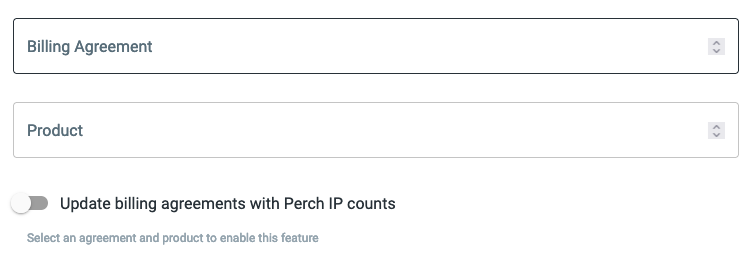
Configure billing
When this feature is enabled, the integration will create or update an Addition nightly with averaged IP counts based on the Billing Agreement and Product selected.
- Select an agreement that can be updated with billing data (IP counts) from Perch.
- Select a product from the ConnectWise product catalog.
- Toggle Update billing agreements with Perch IP counts to the ON (purple) position.
- Click Save.
Troubleshooting
If you’re not seeing the drop down menus being populated with the expected data. Try clicking Reload Options From ConnectWise. This tells the Perch app to request all of the dropdown options from the ConnectWise API.
Still having trouble? Reach out to one or our specialists at help@perchsecurity.com