Perchybana
Event Notifications
Event Notifications
Within Perchybana, you can set up custom event notifications for any event type logged to Perch from your network traffic or from your logs, based on the criteria of your choice. For each notification you set up, you can elect to receive an email or have an alert generated for our SOC to triage.
View Event Notifications
To see your currently configured event notification rules:
- Login to the Perch app
- Expand the Perchybana side navigation
- Select Event Notifications under Perchybana

Modify Event Notifications
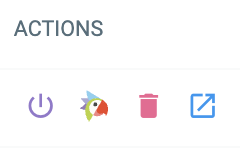
From here, you can take actions on your existing event notifications:
- Enable or temporarily disable a notification
- View the query that powers the notification in Perchybana
- Delete a notification permanently
- View and edit the event notification details
Create a New Event Notification
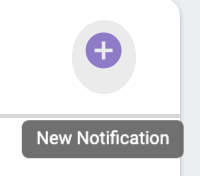
You can create a new event notification by clicking the purple plus sign at the top right of the event notifications card.
There are four configuration sections required before you can save your event notification.
Notification Details
If your account has access to manage more than one organization, the organization picker dropdown in the top navigation will control which organization the event notification is run as, and which organization can edit, delete, or disable the notification. The query that is defined later will have access to all data that this organization has access to.
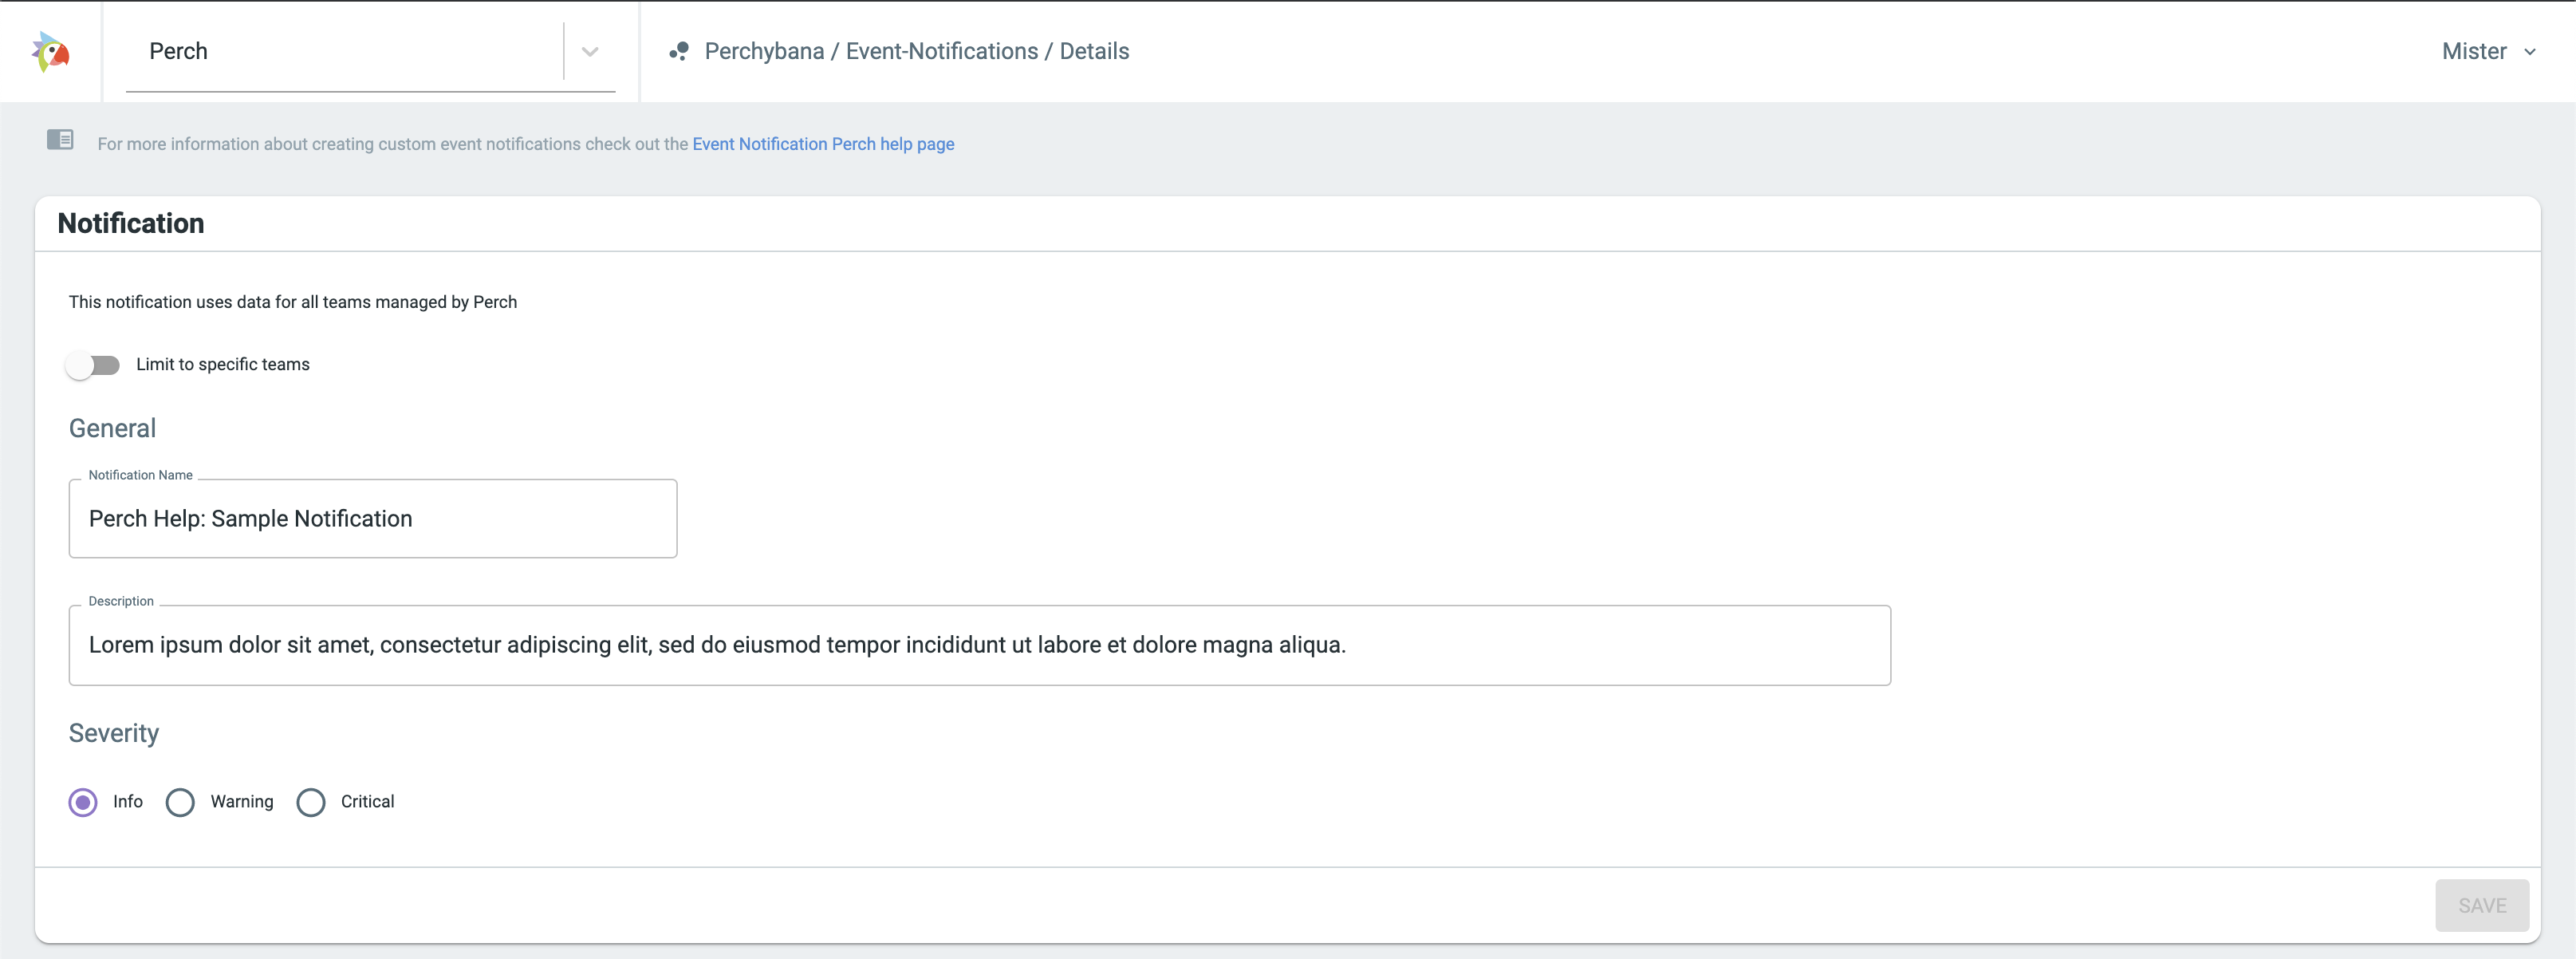
You can create an event notification under your account, but limit the query results to a specific organization you manage. This means that the organization will not be able to see, edit, delete or disable the notification.

Give the event notification a unique name and a description. We recommended making the notification description something helpful to anyone receiving the notification, describing the scenario you are creating the notification for. Additionally, you can select a severity for this event notification. The default severity is “info.”
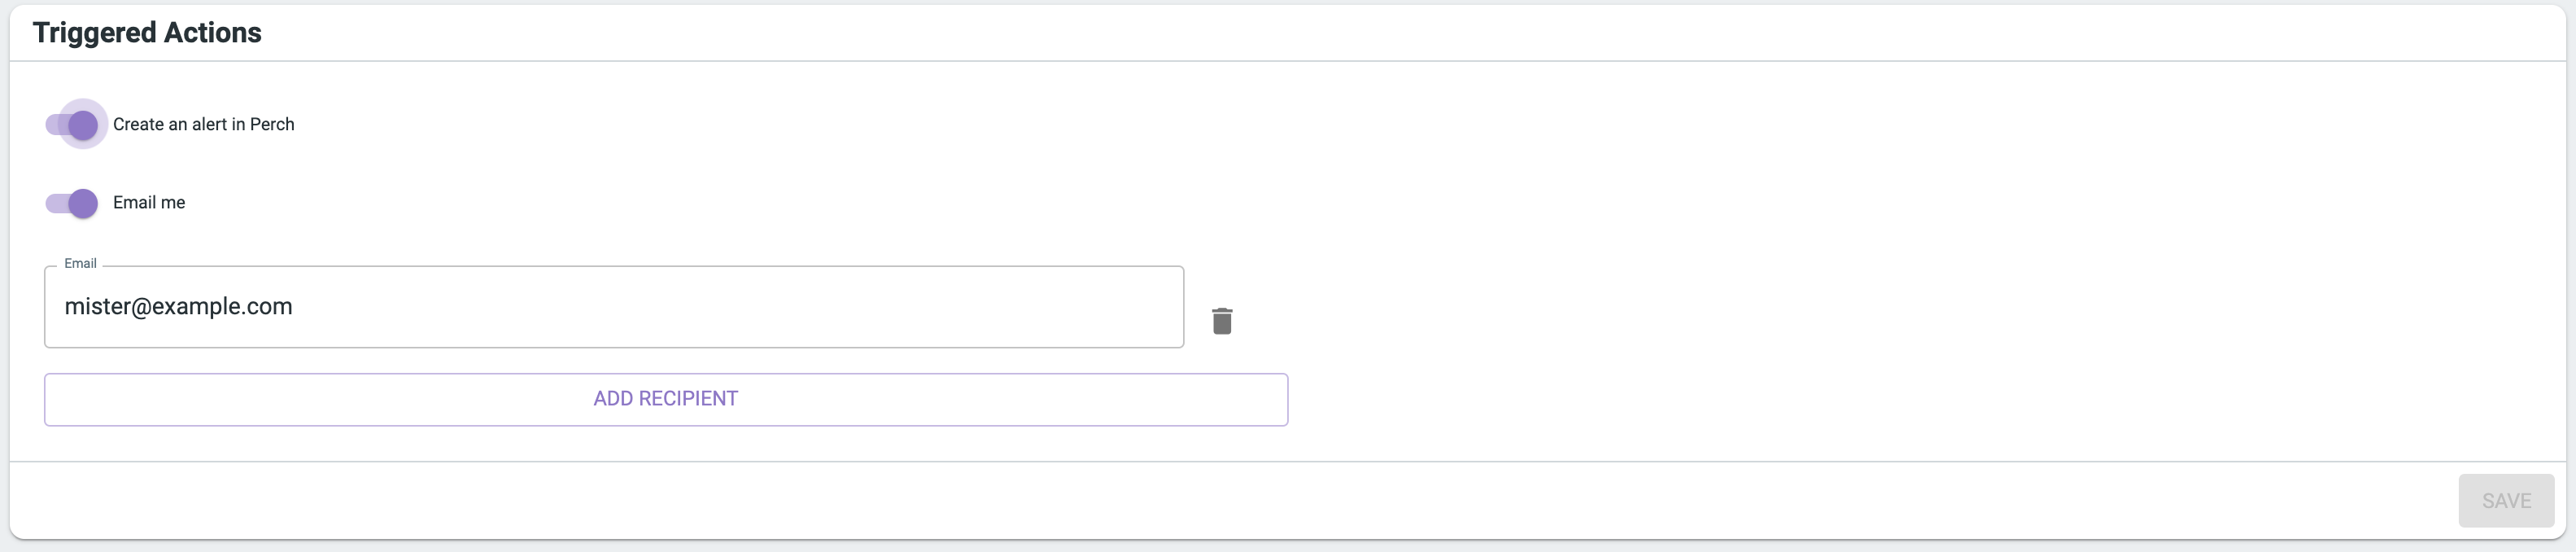
Triggered Actions
When an event notification is triggered, you can control the actions it kicks off:
- send an email
- generate a Perch alert
- generate a ConnectWise Manage ticket
- generate a Slack or MS Teams alert
Perch alerts will be triaged by the Perch SOC and escalated to you if there is a threat. Because it’s possible to create an event notification on normal operational activity, we don’t recommend creating an alert unless you believe this activity represents a threat to your organization.
Notification Schedule
Event notifications are run on a regular schedule. Choose a schedule that best fits the scenario you’re monitoring for. WARNING: It’s possible to spam yourself if you choose a frequent interval with a loose query! As a practice, don’t make an event notification that you’ll train yourself to ignore.

Notification Conditions
Conditions and filters are the most complex part of creating an event notification. This is where you define a query to find data in Perchybana relevant to the notification you are trying to create.
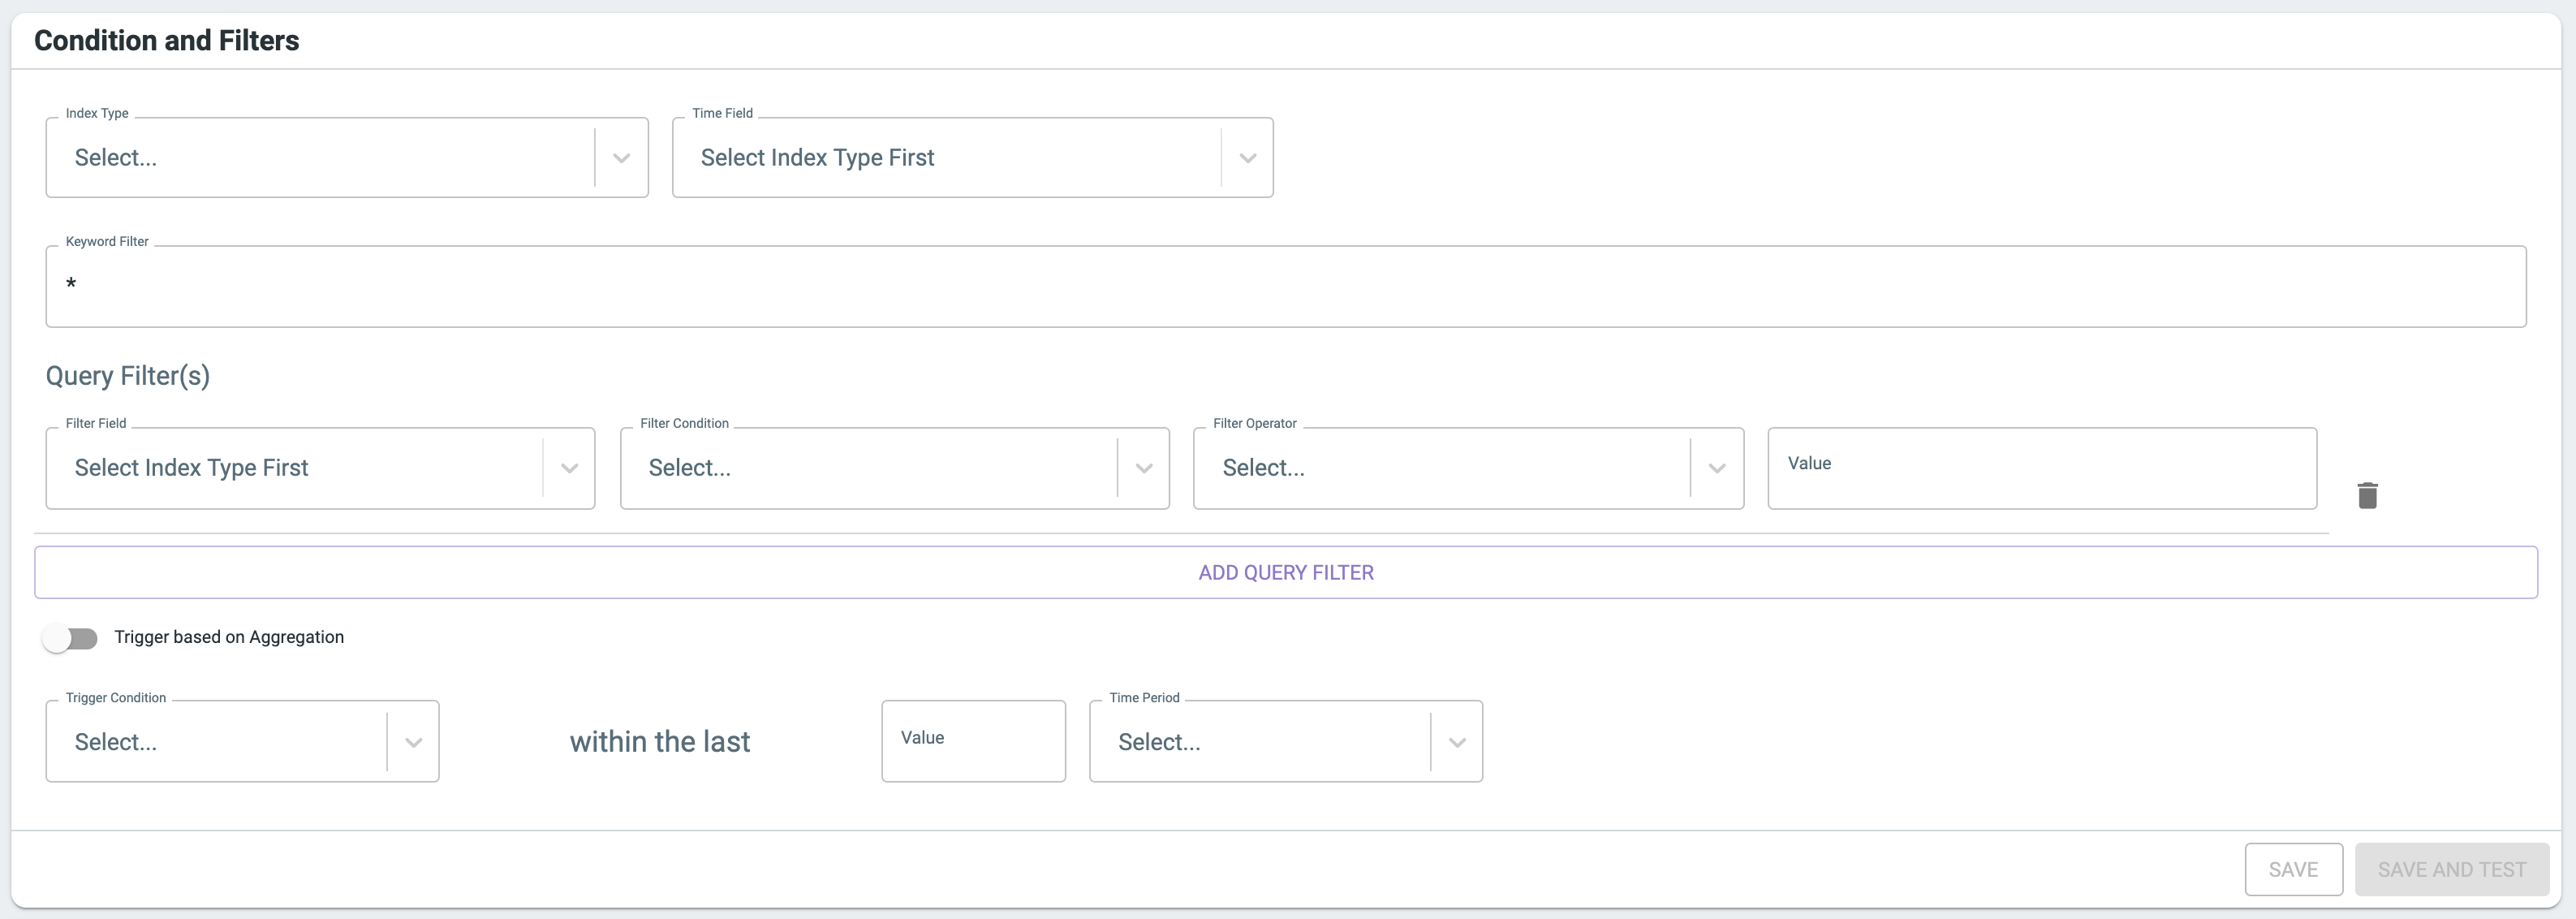
Select an index type for the type of data your event notification is focused on. For example, If you wanted to create an event notification based on Microsoft 365 events, you should select the “office365” index type.

For the timestamp field, @timestamp the most common choice. However, some events contain other timestamps you might want to choose based on your scenario.
Keyword and query filters are identical to searching within Perchybana Discover. All fields in the event from Discover are accessible. You can freehand your search query and/or filter based on fields and values. This is where you will narrow your event notification query to focus on specific activity.
TIP: Although you can test your query from the event notification page, we recommend keeping Perchybana Discover open in another tab so you can see what fields are available and make sure that your query and filters are returning the results you expected.

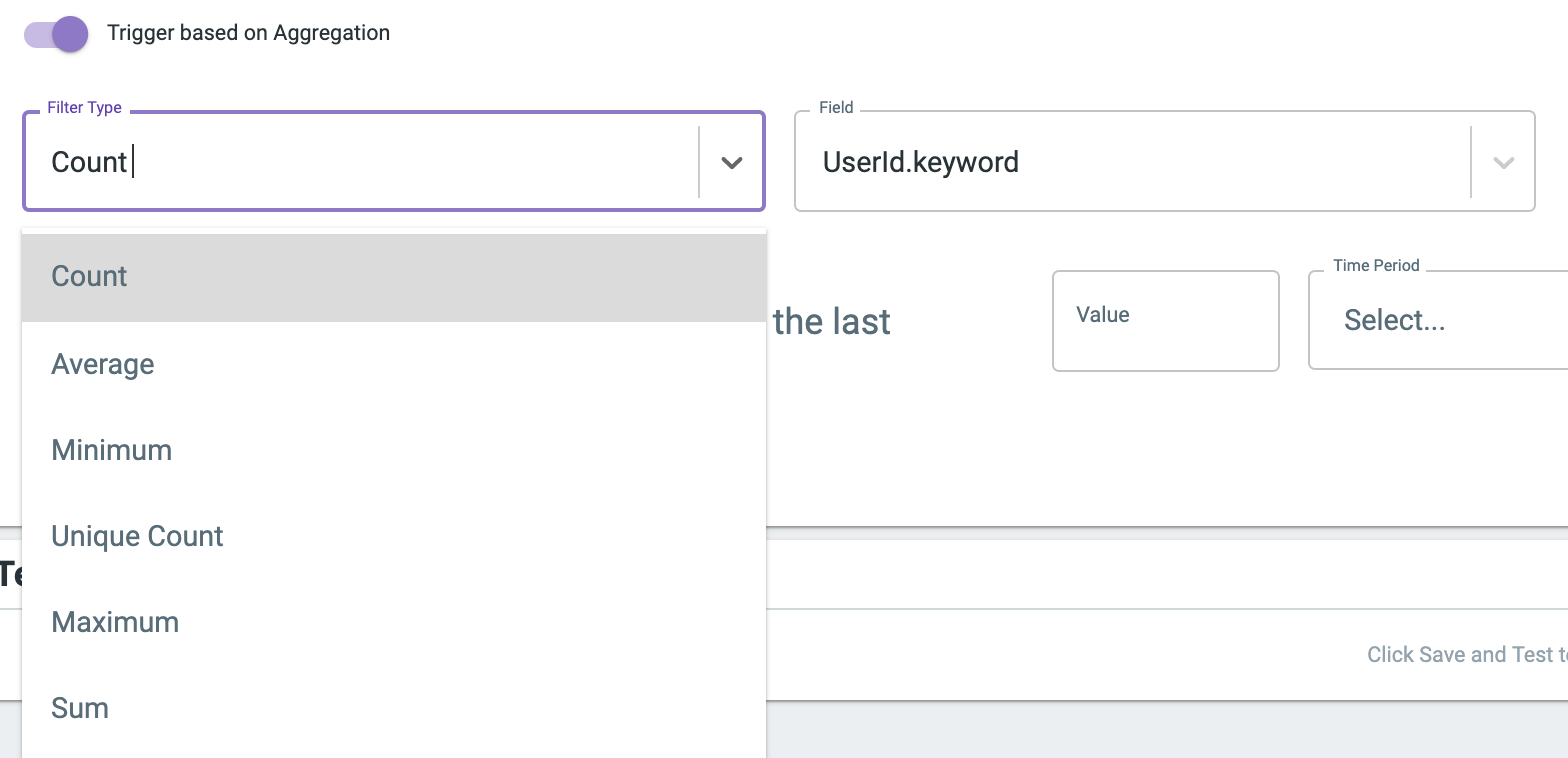
In some cases, you may want to trigger based on aggregation. This feature allows you to access the metrics and split by terms common in data table visualizations. Perhaps you want to aggregate based on the count of user IDs so you get notified when one or more users’ failed login count goes above a certain threshold. Maybe you want a notification when the unique count of DHCP source IPs goes above a certain threshold. Triggering based on aggregation makes these scenarios possible.
Last but not least, you will need to pick a trigger condition. When you start thinking about creating an event notification for a scenario, this is when you should start your consideration. Trigger conditions are very powerful and allow for a wide variety of scenarios to be covered by event notifications.
The most basic trigger condition is Threshold. Did events from my query happen Y times in the last Z amount of time? We recommend that the lookback window – the time window – match the frequency at which the event notification is scheduled to run.

Flatline trigger condition is a simple but powerful trigger. Rather than looking for the presence of an event, it looks for the absence of certain records. Perhaps there is a specific server for which you expect to regularly see logs. Or, a network from which you expect to see netflow. The absence of these records could indicate a change in your environment that has impacted Perch’s visibility. These are just a few example scenarios for which you might use Flatline to draw your attention.

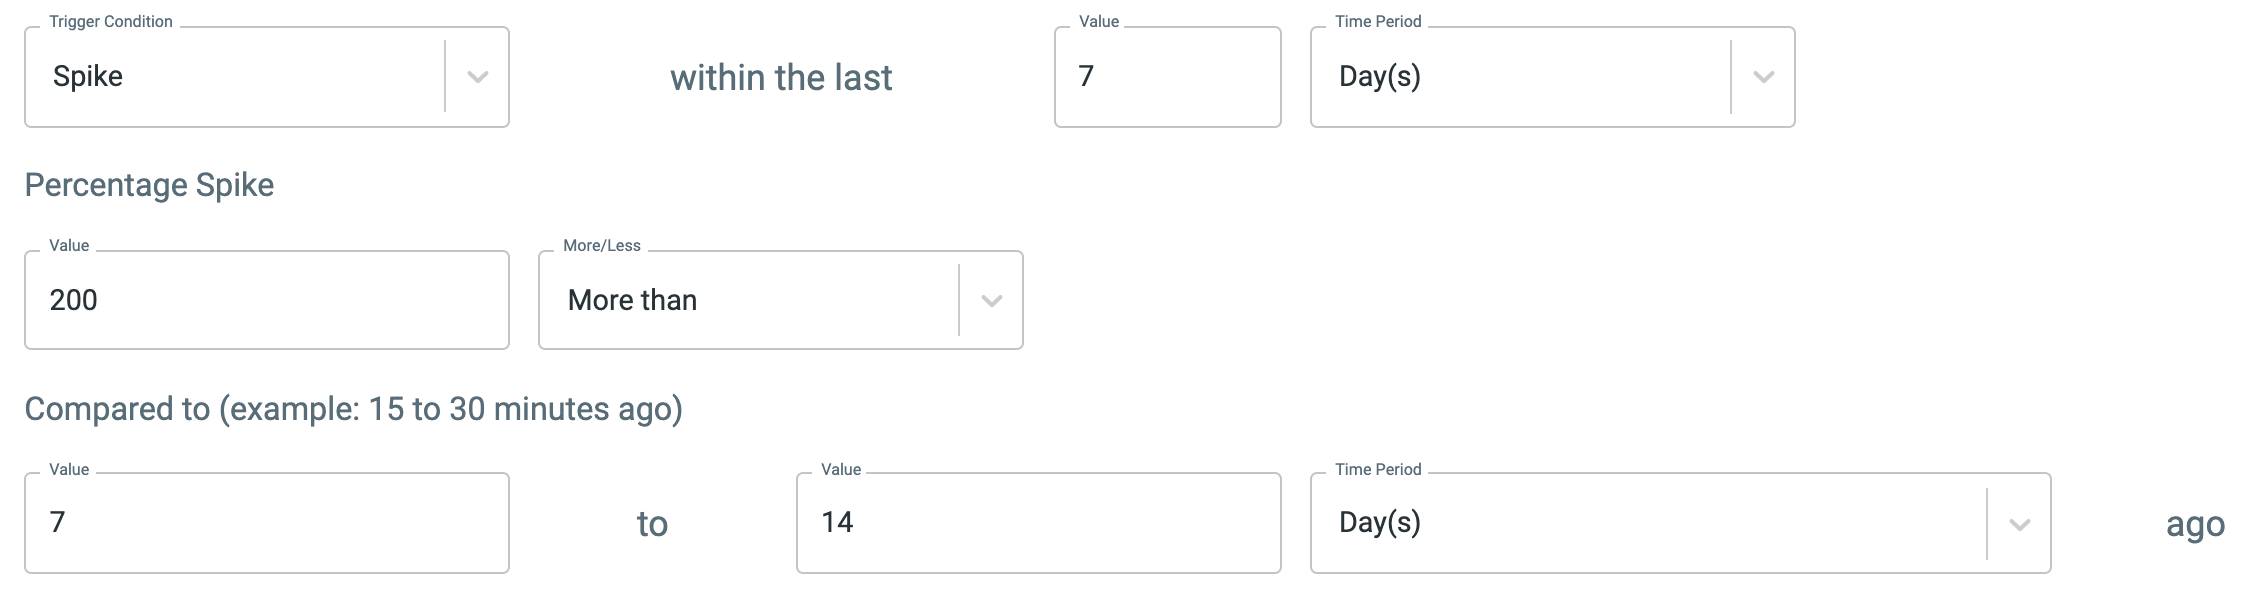
Spike trigger condition puts Perch event notifications ahead of the pack. With this condition, you can get notified based on trends in events. For example, you could compare the number of failed logins from last week to the preceding two weeks to get notified when the activity spikes by a specified percentage.
One of our personal favorite trigger conditions is New Value. This generates a diff of results from a recent period and compares it to a historical period to see if new values are observed. One example of a cool way to use the New Value condition is to look for new mac addresses in DHCP records in your environment.

Finally, there is Repeated Value trigger condition. This is configured similarly to New Value, but creates a notification when a value is repeated between the two time periods.
Now that you’ve configured everything, you can save the event notification. Congrats!